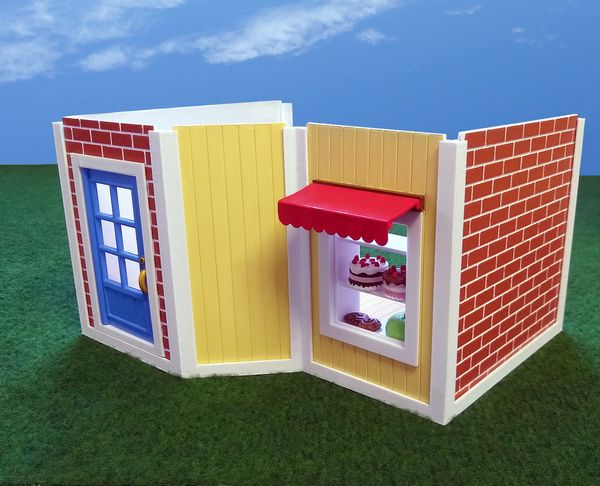
First version of the Bakery is finally printed, painted and assembled! Read more about the idea and concept in The Bakery blog post or view this assembly instruction video which also gives a preview of coming uploads. (It's a bit silly and definitely not a 5 star production but if you bear with it you will get a 360 tour :))
Concept
Before printing the Bakery I wasn't sure if the concept with walls that are slid into the house frame would work. Would it really be possible to easily switch between different walls to make it possible for kids to create different house designs? Maybe the walls wouldn't slide down into the frame at all or maybe the frame would flex too much? However, it actually works quite well!
So far I haven't tried printing multiple houses, to place them on top of each other, which is the end goal. Hopefully that works as smooth as the first step but perhaps the construction will turn unstable or the top house might fall off, in any case it will be a fun experiment.
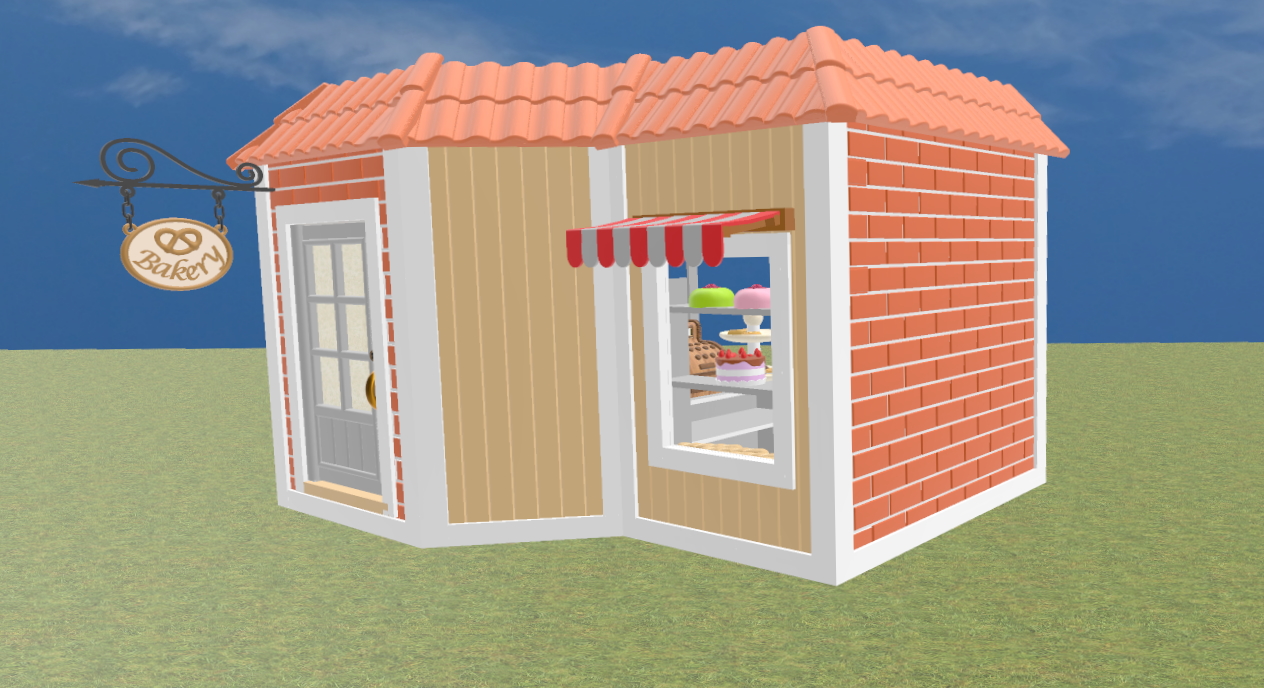
The house is already sturdy but an upgrade addon "roof" will come, which will fix the walls position even more in place. The roof will not be a complete roof, at least not in it's first version, just something to make the house look more finished. It's not decided exactly what the roof will look like yet, but perhaps something like in the picture below.
If you are not interested in changeable walls or stacking houses, just glue everything in the house frame and the house will be stable for sure.
Printing
All parts can be printed without support except for the doorframe and awning. I recommend printing the door frame standing upright with support underneath the doorstep and frame top. The awning can be oriented on the side with support for the awning frame.
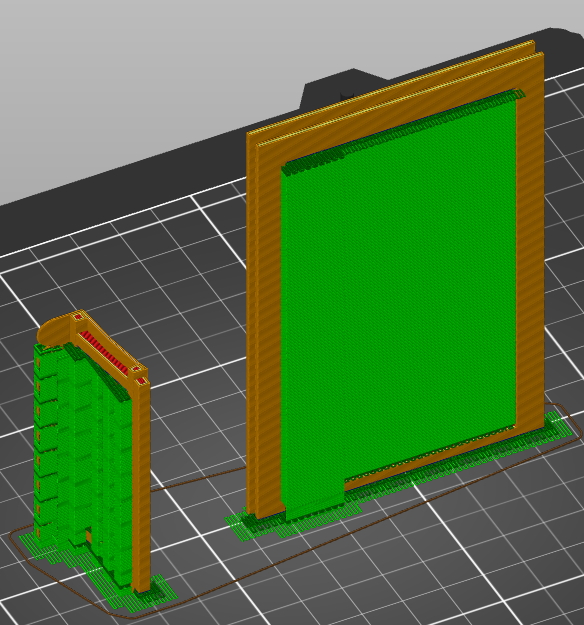
The house frame doesn't need support even if there are bridged areas. Walls, floor and door are printed laying flat on the print bed. A heated print bed is gold, or maybe it's just Prusas great calibration, in any case the parts are smooth also underneath which they wouldn't have been with my old printer (which didn't have a heated bed). I used gift wrapping paper with small flowers as a fast way to paper some walls until I decide which color they should have. This might be an idea if you would get a less smooth area somewhere.
Painting
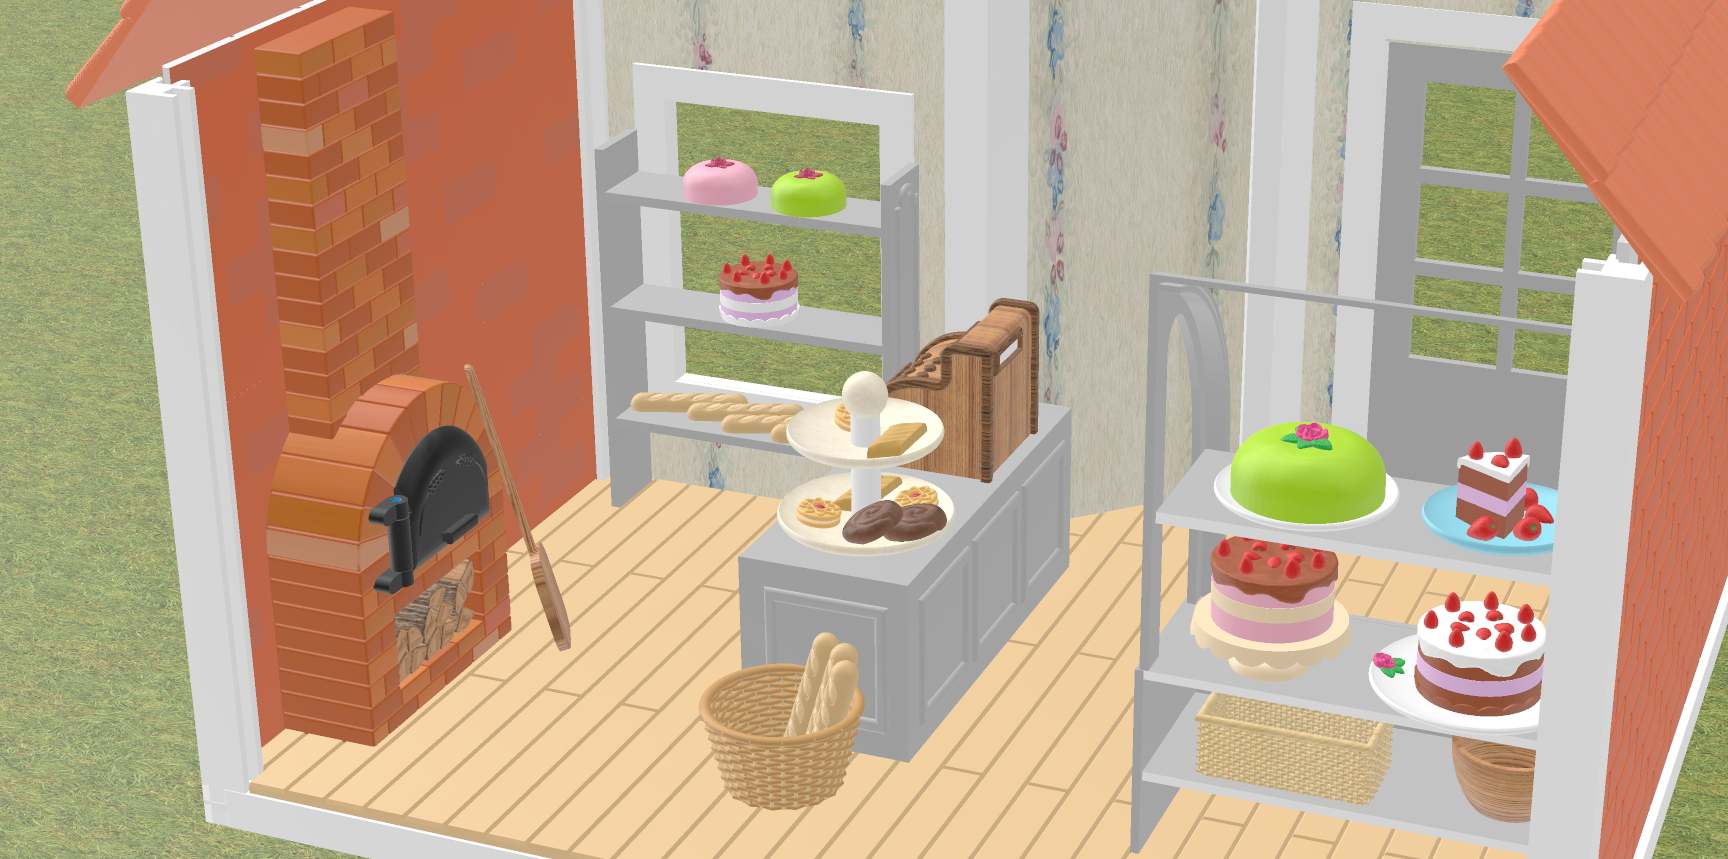
Each tile in the brick wall is carefully painted to keep the white grid in between the tiles. It takes a little bit of time but the end impression is nice. Right now all tiles have the exact same color, more diverse colors on the tiles would give the walls a more realistic look, but for now i keep what I call a "Disney painting" (clear colors with clear lines).
I use colors from an acid free, non toxic acrylic paint brand called DecoArt Americana multi-surface satin. The Paprika color has a deep red-brownish tint that looks perfect for bricks.
A good brush makes the job of painting the brick walls easier if you want to keep the white grid. The walls will look good also without the grid so unless you really enjoy painting, just go for a one color wall. With the right brush and a paint that only needs one stroke, the painting goes faster than expected. One stroke per tile might be slightly optimistic but at least with the DecoArt it took one first stroke, with generous amount of paint on the brush, and then only some finishing touches here and there once the paint had dried some.

What is a "good brush"? In this case it's a flat brush. Make sure to trim the edge if it's uneven so it's perfectly straight. I used a 6 mm wide, thin and flat brush, which made the tile painting a fast process.
Assembly
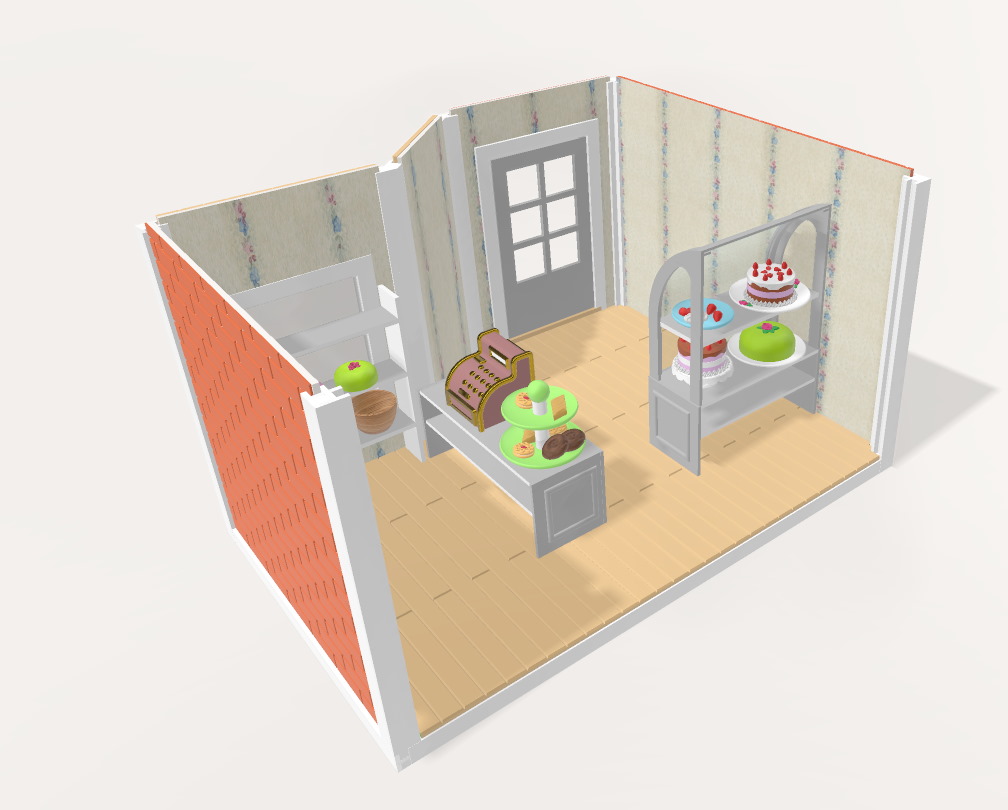
The house consists of a frame, five walls, floor, a door frame, a door, two window frames (inside, outside) and an awning.
The window frames are the only pieces that needs to be glued on. A transparent cut out plastic sheet can be placed as window glass in between the frames. I might create a similar "inside window frame" for the door to be able to add a plastic sheet to it too in the future.
Cut off a piece of filament (1,75) and use as hinge for the door. There is a hole in the door frame which the filament can be slid through and then down into the door hinge. It might be difficult to get one long piece through the hole door hinge if there are some print threading or similar inside the door hinge. In this case, use two pieces of filament and slide one in underneath as far as possible, then the second through the door frame and down into the door hinge until the door is secured.
Please view the video in the beginning of the blog post for better assembly instructions.
Props & addons
There are links for store props in The Cakes & Biscuits blog post. The cash register and coins are available at Thingiverse.
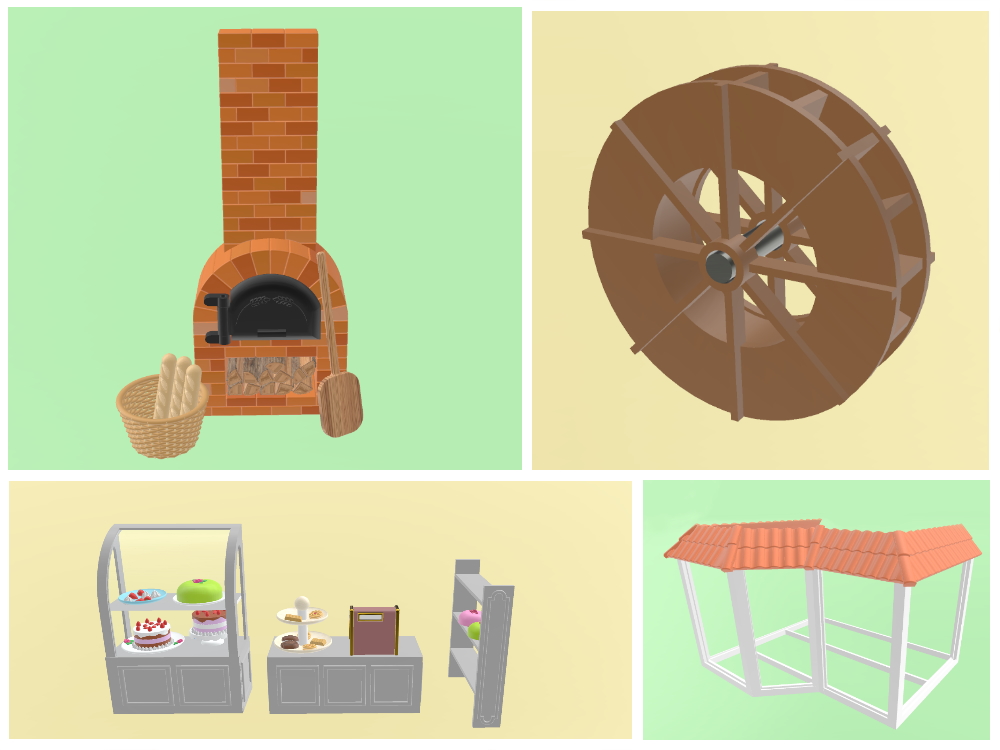
There will be several addons to this house:
- A roof
- More walls in different "material"
- More windows, doors and corresponding walls
- A waterwheel
- A bakers oven (More or less done, only missing some fire wood)
- Inside furniture for different types of shops or houses (Bakers furniture is more or less done)
Feedback
Is there a special type of store you would like to see? Are there some parts that doesn't print properly for you? Any feedback is appreciated and I will try to make updates asap.
Please send an email to enelyalonde@gmail.com or contact me on Thingiverse / Prusa Prints if you have new ideas, suggested improvements or would like an item updated.
If you do print any of my designs, it would make my day if you send me a picture of the print :)